Are you ready to start your first project? Let's go!
You're going to love how simple & fast it is to create something beautiful using Rethunk Junk™! No sanding or priming needed and no messy wax to deal with - just quick results with a few simple steps!
Let's get started...
Shop the Basics-

Step 1 - Prep
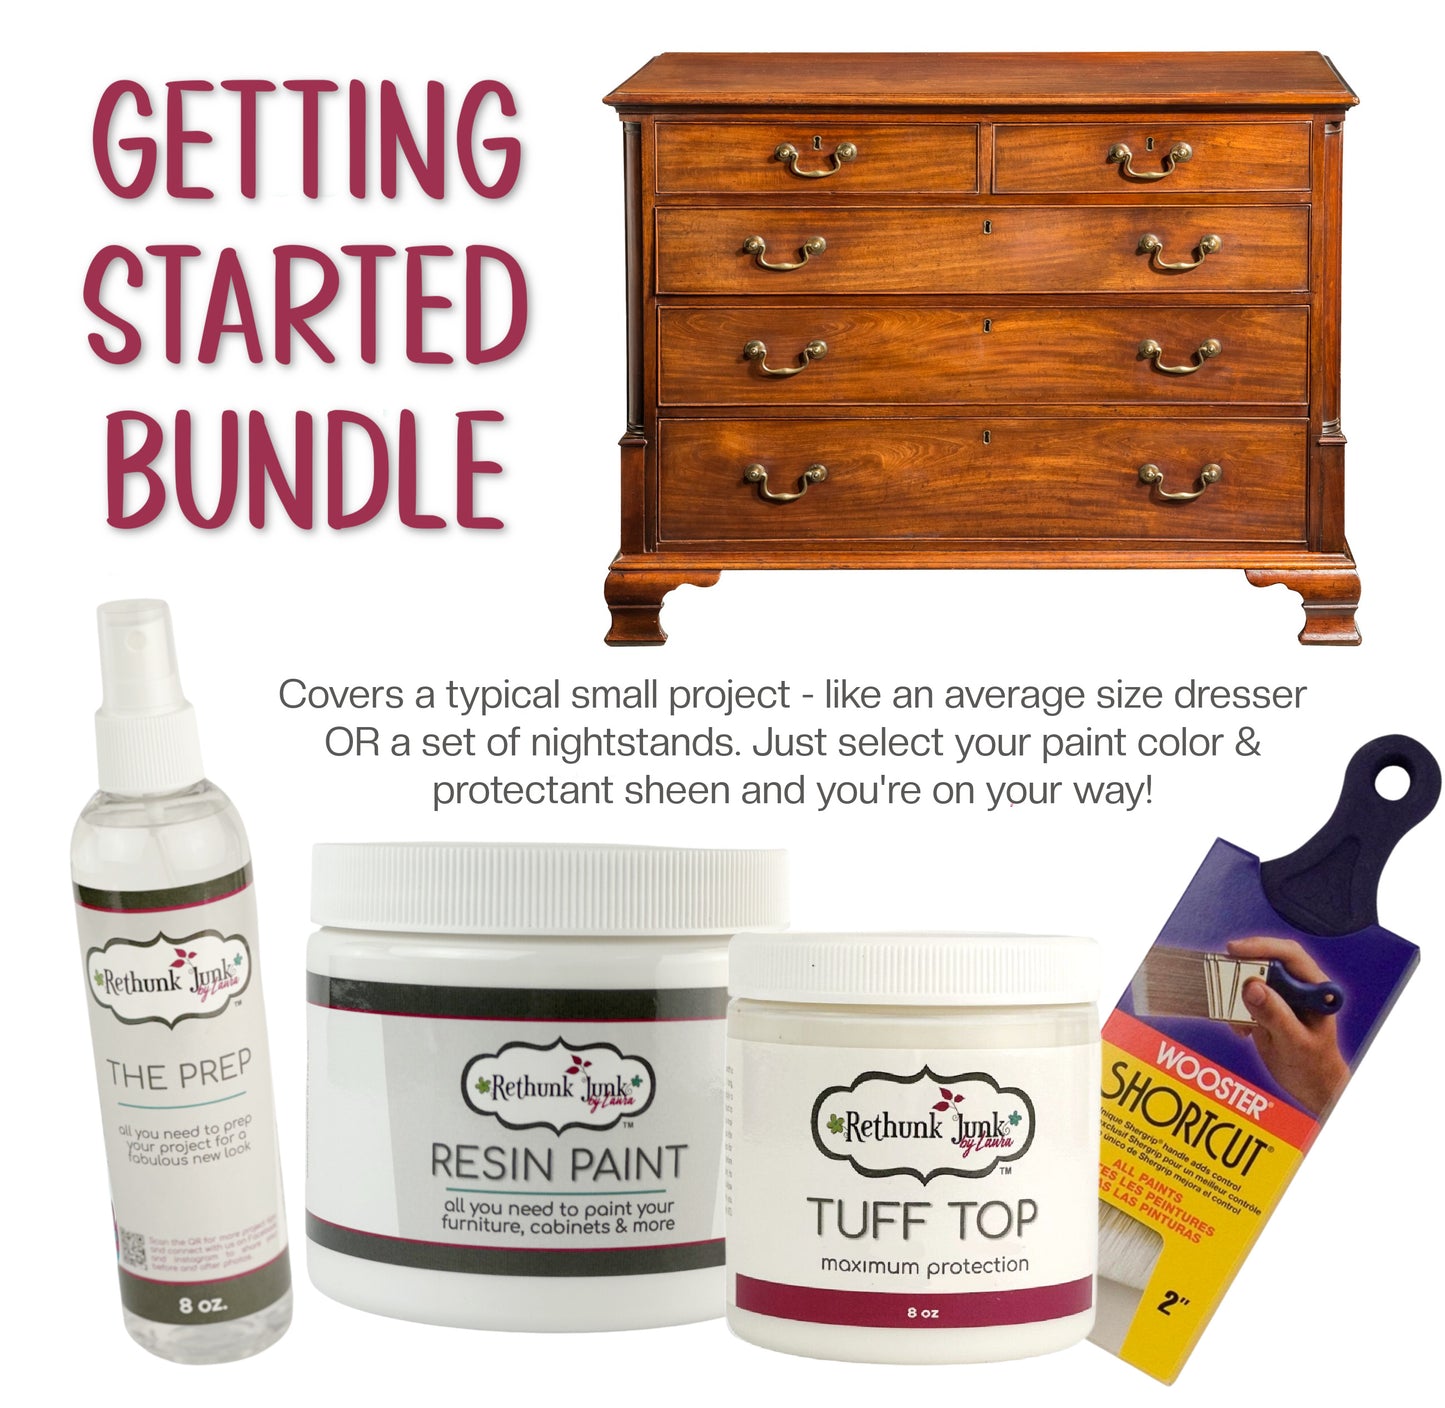
Prepping is the first and most important step for any successful project, and we have made that step easy. Simply clean with our Prep. No sanding or priming is needed. Spray the surface, then use a scrubby pad to make sure it's good and clean. Wipe it down a second time with a clean cloth. That's it! You're ready to paint. Our water-based paint formula will adhere to virtually any surface after using The Prep.
-
Step 2 - Paint
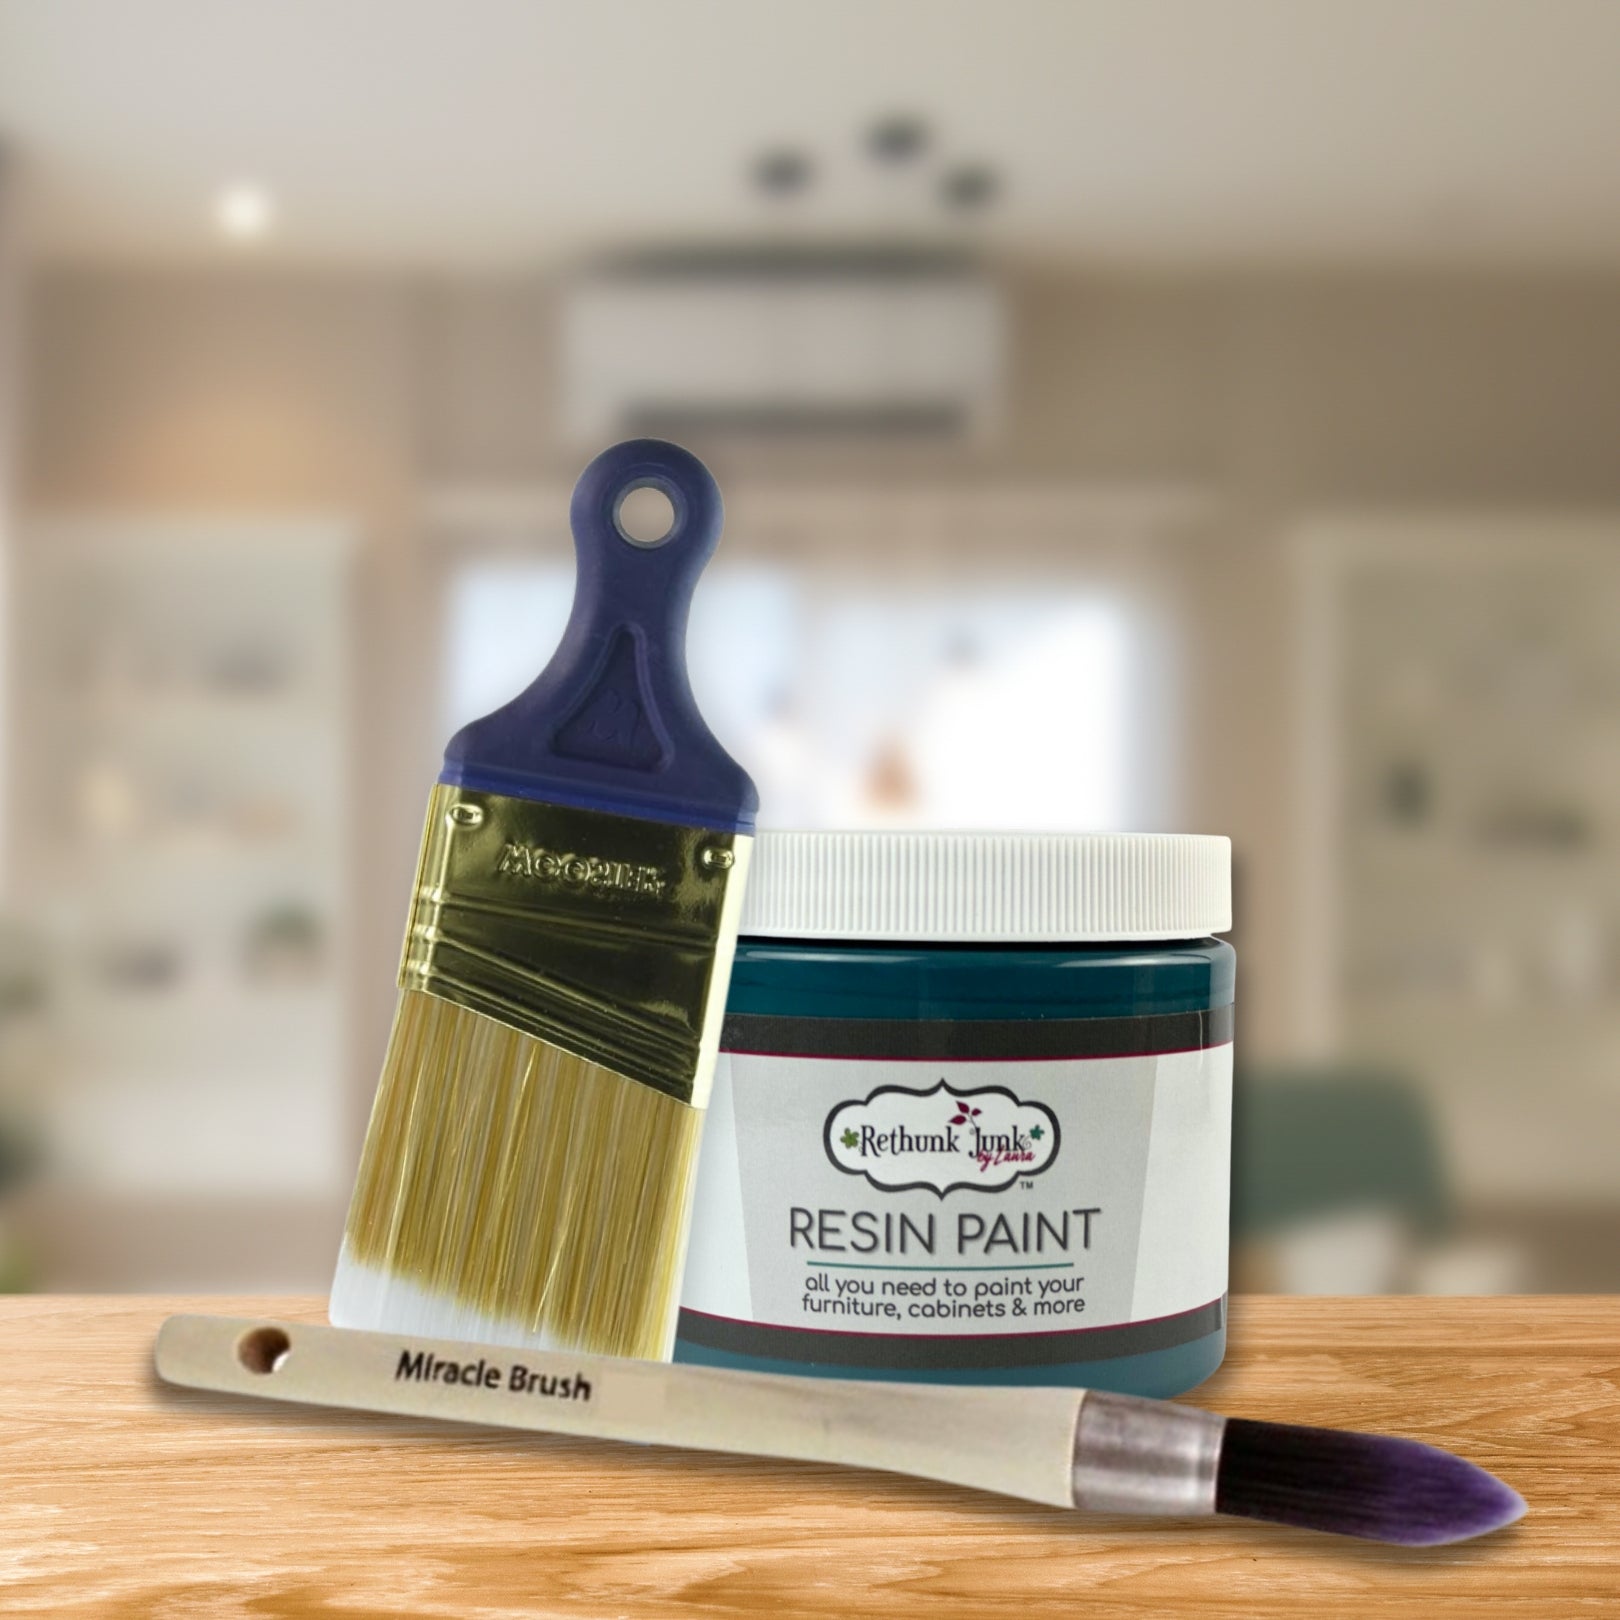
Choose one of our 45 gorgeous self-leveling, quick-drying paint colors. Apply using a soft-bristle brush (or a roller or sprayer). Apply the first coat and when dry, usually 30 minutes, you can apply additional coats to reach desired coverage. PRO TIP: Smooth from edge to edge with a light touch on your final pass & try not to overwork the paint.
-
Step 3 - Personalize
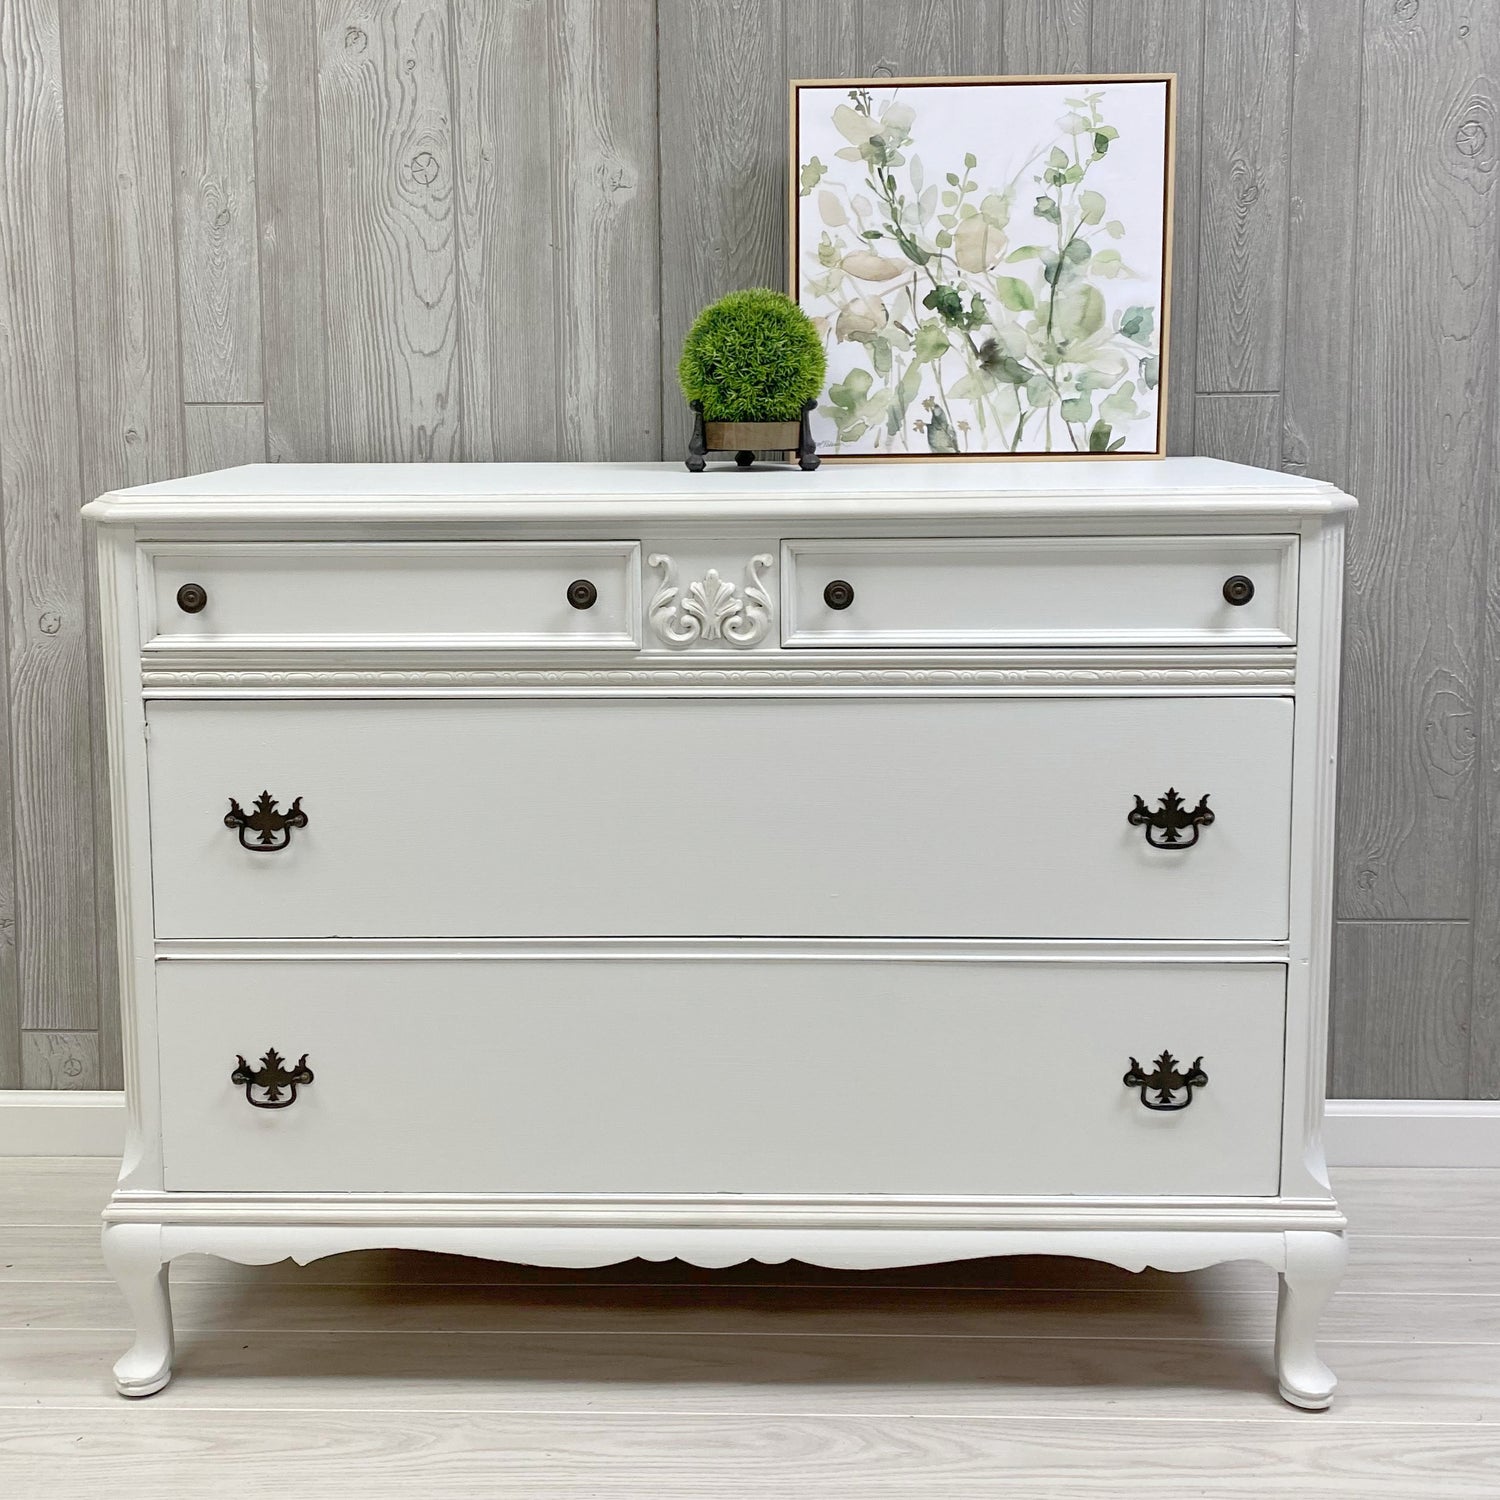
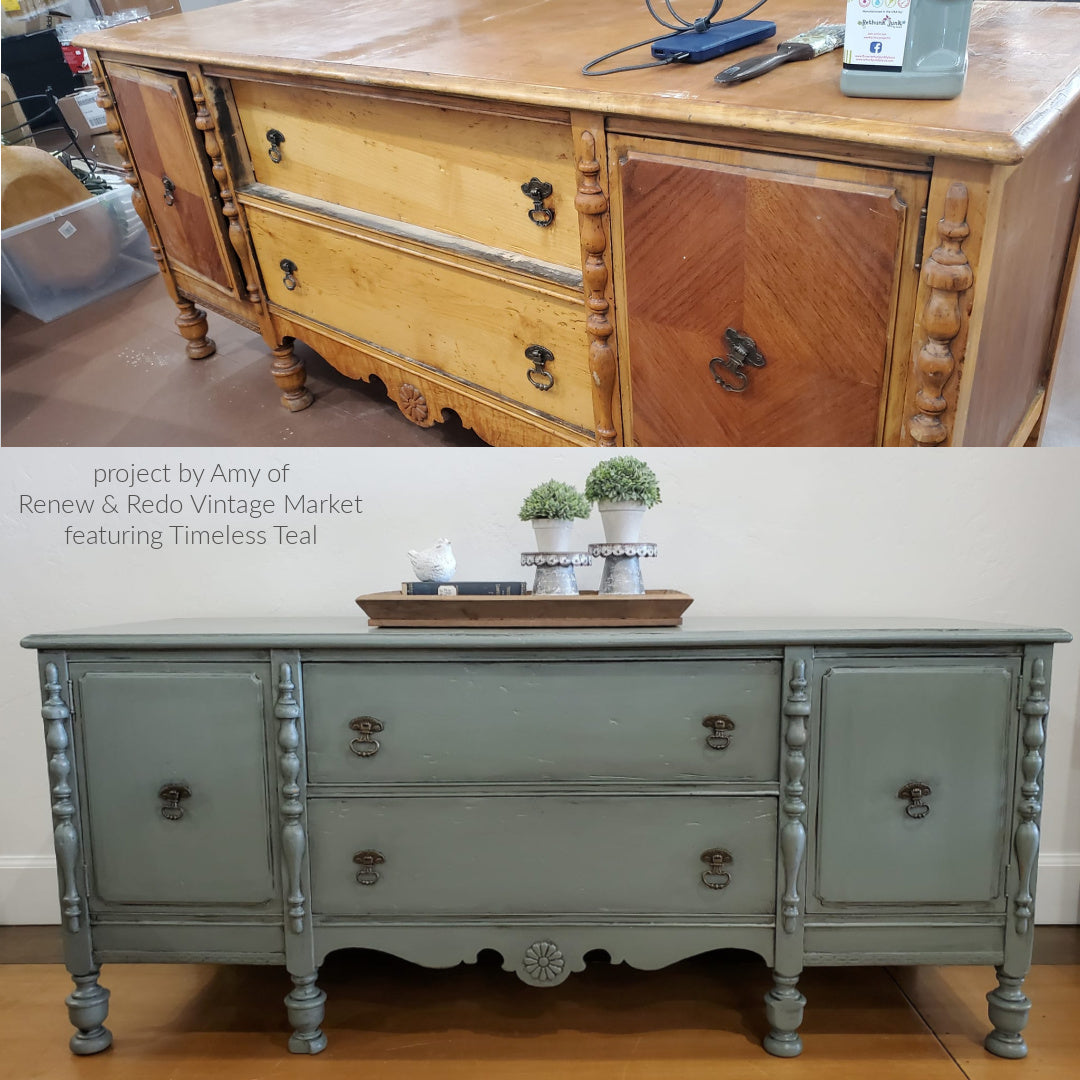
If you stand back and love your piece, you're done! Just allow it to dry well (we like to wait 24 hours) and then decorate and use as planned. If you want a little extra, you can personalize your project by adding a wash, glaze or metallic to add dimension and interest. Or you can seal with our Tuff Top for additional shine or to add extra protection to projects that will be heavily used. It's all up to you.


Nervous about your first project? Have questions? We're happy to help! Shoot us a message & we'll be in touch.

Still not sure? Have questions?
Come join our fabulous Facebook community where new & experienced fans of Rethunk Junk share their tips, successes & failures {gasp!} so we can all learn, share & be inspired. It's a happy place and we'd love to see you there!