
Yes, you can update your kitchen cabinets without sanding!
It is so easy and affordable to update your kitchen cabinets using Rethunk Junk by Laura® and YOU can do it - without the mess of sanding! Our self-leveling paint makes it simple! Read on for step-by-step instructions & tips OR if you're ready to get started...
Step 1: Get Prepared {do we have to?!?!}
Remove handles & pulls from drawers & doors. Protect floor from prep over-spray and paint drips...unless you're super impatient or a perfect painter - then just skip this step (haha! don't do that!).
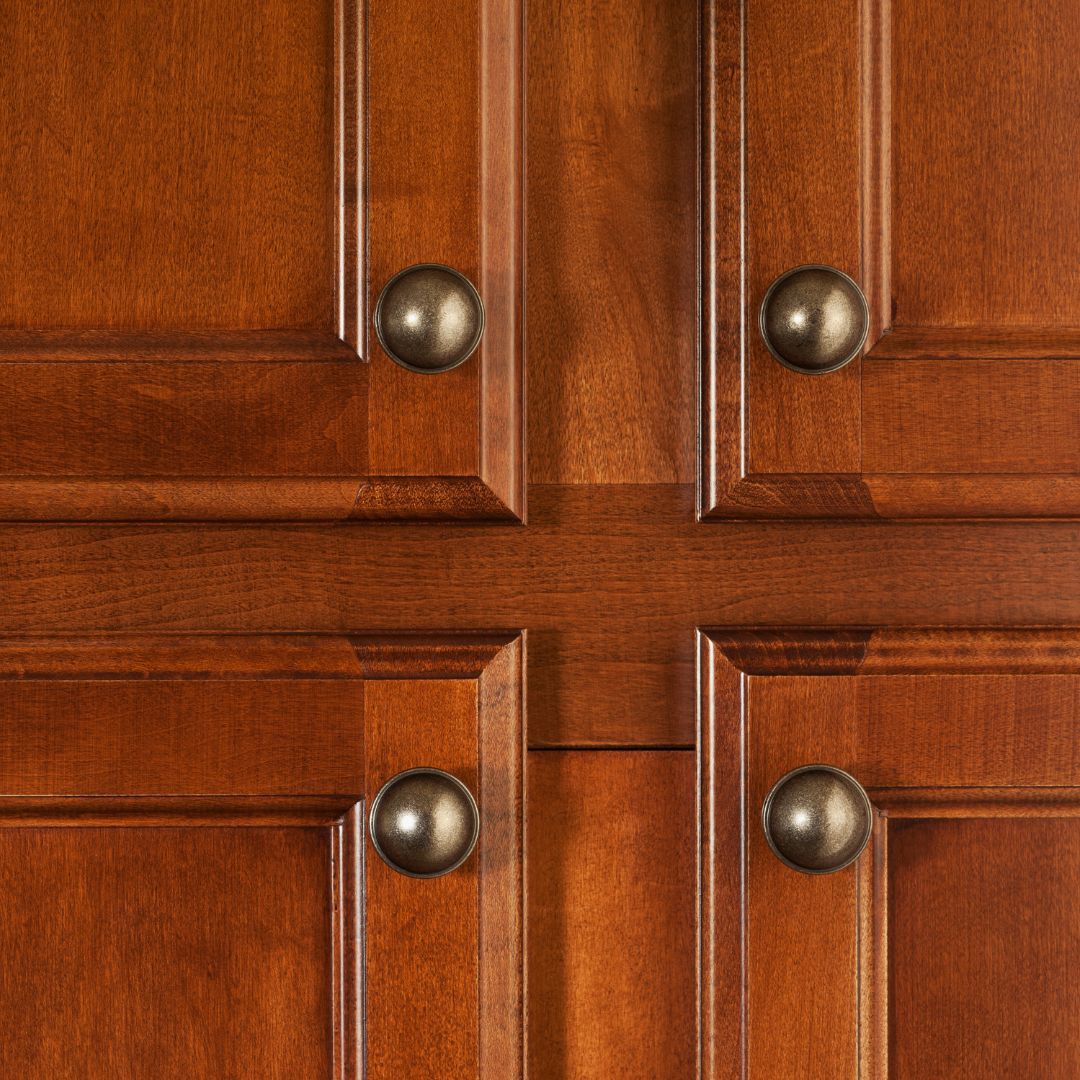
We do not recommend removing cabinet doors because they are extremely difficult to reinstall without complications. Just be sure to order a Miracle Brush when you order because it's perfect for trimming around hinges!
See, that wasn't so hard!

Step 2: Prep {I don't want to!}
Generously spray our Prep over a small area (like one cabinet door and frame) and allow to soak for 2-3 minutes. Using a scrubby pad, scrub with firm pressure paying extra attention to areas that are frequently touched or near the oven. Once you have scrubbed thoroughly, wipe away remaining Prep & residue. Spray again with Prep and wipe with a clean lint-free cloth (yes, again is best!).
Keep in mind that thorough PREP is the key to lasting adhesion, so never skip The Prep!
Okay, on to the good stuff!
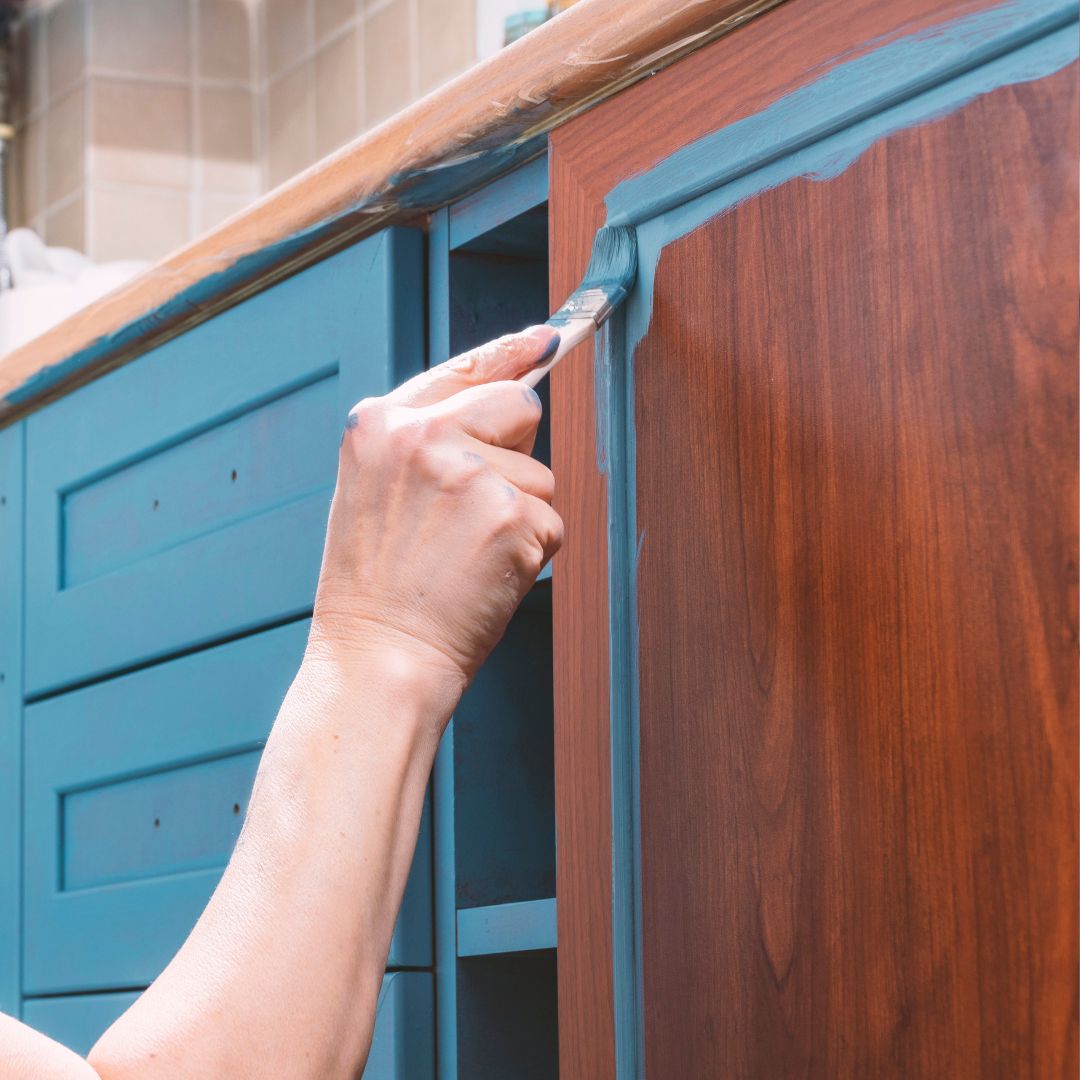
Step 3: Paint {it's about time!}
Use a soft-bristle brush to apply Rethunk Junk by Laura® Furniture & Cabinet Paint. We recommend painting upper cabinets first, beginning with the body of the cabinets and backs of the doors (if you plan to paint those). Leave the doors open, allowing the body & door backs to dry before painting the front of the doors. By the time you have worked your way around the room, the first cabinets should be dry and ready to start the next coat. Just keep working your way around the room until desired coverage is achieved.
Pro Tip: Be careful not to overwork the paint. Simply apply it, smooth from edge to edge with a light hand on your final pass. Then just let it sit to self-level. Resist the urge to keep going over it.

Step 4: Apply a Protectant {can I skip this?}
After the final coat has fully dried (preferably overnight), use a Miracle Sponge to apply Tuff Top being careful to watch for drips. Tuff Top is a thin, watery medium so two thin coats are recommended and if applied with the Miracle Sponge, they will dry very quickly.
Can you skip this step? Maybe. It depends on how many little hands dirty up your kitchen on a daily basis, but adding a sealer can definitely help make daily cleaning a bit easier.

Step 5: Dry Time {we love this part!}
Now that your fresh new kitchen looks fabulous, pack up the family and go out to dinner so it stays looking that way forever (okay, kidding....sort of)! We do recommend allowing it to dry overnight before re-installing hardware. Then use gently for the first few days as the paint begins to harden. Your freshly updated kitchen will continue to harden and become more durable as time passes - so enjoy your hard work and tell all your friends how amazing your kitchen looks!

Step 6: Maintenance {wait, I thought we were done}
Eventually, your "the paint is still drying" excuse won't work anymore and the budget will require your family begin using your freshly Rethunk'd kitchen again. This will, of course, bring "precious" little hand-prints and dried splatters of who-knows-what...along with many laughs and fun memories too, of course. So be sure to grab our fabulous cleaners to maintain your lovely cabinets. The every-day cleaner helps clean up the messes and the weekly protectant makes them easier to clean.

Save $$$ with a Kitchen Bundle!
Our kitchen bundles include all the items you'll need for your project with extra savings! Just select your favorite color(s) and place your order.